Carpet glue removal guide: safe DIY steps for homeowners
If you’re pulling up old carpet and finding a sticky, stubborn mess underneath, start here: inspect the installation date before you touch anything. If the carpet or underlay was laid before about 1980, treat the adhesive and underlay as suspect for asbestos and stop until you’ve arranged testing. If the installation is clearly more recent and you see no dark, tar-like bituminous mastic, you can begin with manual scraping and escalate from there.
The safest escalation ladder for most homeowners looks like this:
- Manual scraping — lowest risk, works on all surfaces, slow on large areas
- Heat or steam — softens water-based latex adhesives quickly, safe on most substrates
- Commercial solvent or gel remover — faster on stubborn adhesives, higher health and substrate risk
- Mechanical grinding or floor stripping — fastest for large concrete areas, highest dust and damage risk
Pro Tip: Work in sections no wider than 30 cm and keep the adhesive slightly damp when using heat. Dry glue tears the surface; moist glue peels cleanly.
Key takeaways
Removing carpet adhesive safely comes down to one principle: identify the adhesive and substrate first, then choose the least aggressive method that gets the job done without damaging what’s underneath or creating a health hazard.
| Point | Details |
|---|---|
| Check for asbestos first | Treat any pre-1980 installation as suspect; stop and test before scraping or grinding. |
| Start with manual scraping | A floor scraper like the QEP 8" is the safest first tool for most surfaces and adhesive types. |
| Escalate methodically | Move to heat, then solvent (Diggers Glue Rid), then mechanical only when the previous step stalls. |
| Protect the substrate | Match method aggression to surface hardness; grinders suit concrete, not timber or tiles. |
| Dispose of waste correctly | Bag scrapings, seal solvent rags in metal containers, and use a licensed facility for asbestos waste. |
Table of Contents
- Your carpet glue removal guide: tools, PPE and materials
- How to identify the adhesive type and your subfloor
- Step-by-step manual removal for small areas and delicate floors
- Using solvents and commercial adhesive removers safely
- When and how to use power tools: grinders, sanders and floor strippers
- Surface-by-surface do’s and don’ts
- Asbestos risks, health precautions and safe work procedures
- How to collect waste, dispose responsibly and prepare the subfloor
- When to stop DIY and hire a professional
- Sources
Your carpet glue removal guide: tools, PPE and materials
Choosing the right tool for the job saves hours and protects the floor underneath. The list below covers what you’ll need for most residential and light commercial jobs, from a single bedroom to a full renovation strip-out.
Hand tools
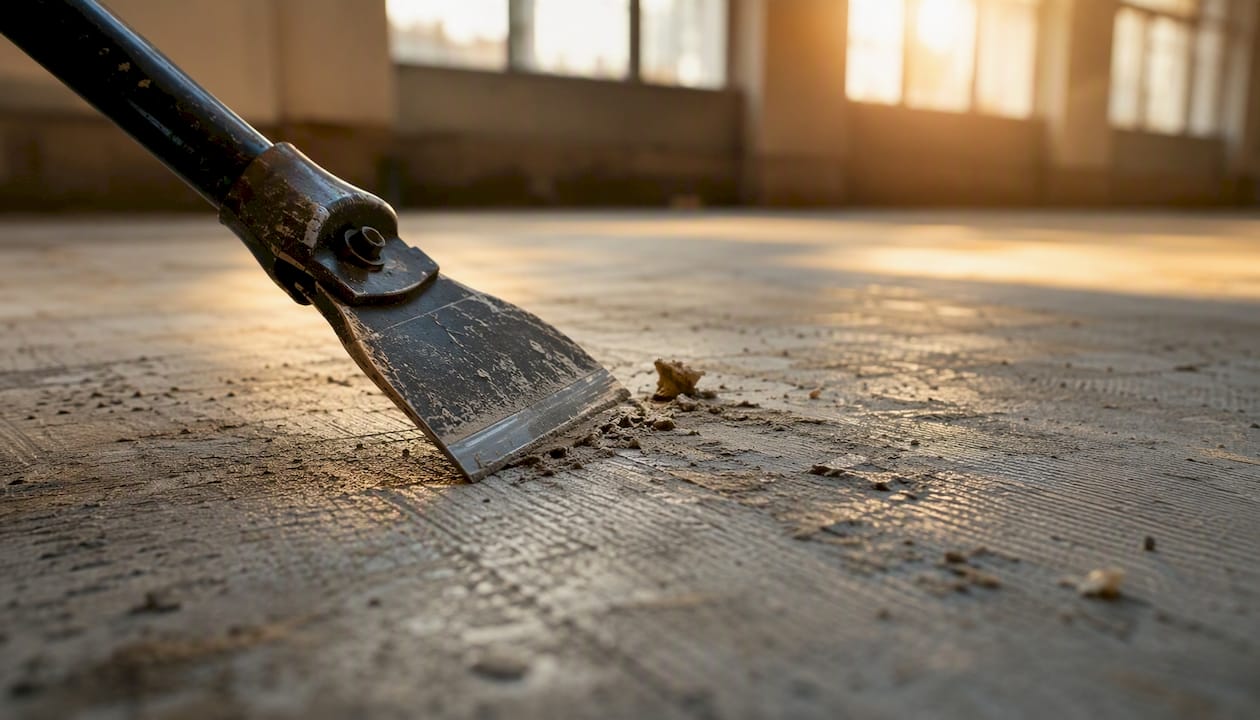
A good floor scraper is the workhorse of any adhesive removal job. The QEP 8" floor scraper is a widely recommended professional-grade option: its long handle reduces back strain and its replaceable blades stay sharp through heavy use. Alongside it, keep a stiff-bladed putty knife, a utility knife for cutting carpet into manageable strips, and a cold chisel for chipping up dried mastic in corners.
Power tools and hire options
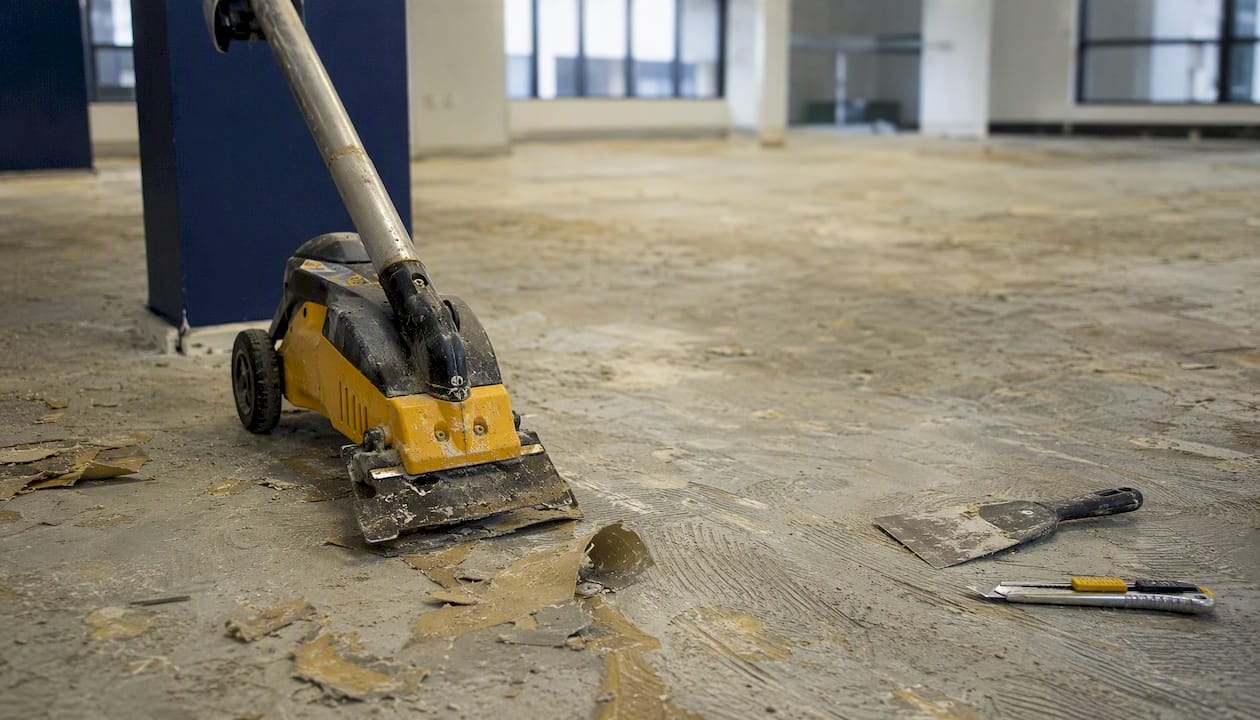
For rooms larger than roughly 15–20 square metres, manual scraping alone becomes impractical. An oscillating multi-tool with a scraper blade attachment handles edges, corners and timber floors with lower damage risk than a grinder. For large concrete slabs, a dedicated floor stripper is worth hiring rather than buying. The Coates floor stripper (available through Coates Hire nationally) is a common trade choice: it drives a wide scraper blade across the slab at consistent pressure and covers ground quickly. Hire costs are generally more economical than buying for a one-off job, and the machine comes with operator guidance.
Solvents and commercial removers
Diggers Glue Rid is a solvent-based gel formulated specifically for adhesive residues on timber and concrete. It clings to vertical and uneven surfaces during the dwell period, which makes it more practical than thin solvents that run off quickly. Mineral turpentine works on some solvent-based adhesives but evaporates fast and requires good ventilation. Acetone is effective on two-part epoxy residues but is highly flammable and can lift timber finishes, so use it only as a last resort on a test patch first.
PPE checklist
Proper protection is non-negotiable, particularly when solvents or mechanical tools are involved.
- Respirator or disposable mask: Class P2 for dust and particulates; a half-face respirator with organic vapour cartridges when using solvents
- Safety glasses or goggles: flying debris from scrapers is a real hazard
- Chemical-resistant gloves: nitrile for solvents, heavy-duty leather or rubber for scraping
- Knee pads: floor work is hard on joints; good pads reduce fatigue and improve control
- Hearing protection: when using angle grinders or floor strippers
Pro Tip: Hire the Coates floor stripper for any room over 20 square metres. The hire cost is typically recovered in time saved within the first hour of use, and the machine’s consistent blade pressure reduces gouging compared to manual scraping on tired arms.
How to identify the adhesive type and your subfloor
Getting this step right determines everything that follows. The wrong removal method on the wrong adhesive wastes time and can permanently damage the substrate beneath.
Visual and tactile checks
Run through these checks before you commit to any method:
- Colour and texture: Yellow or off-white, rubbery residue is almost always a water-based latex adhesive. These soften readily with hot water or steam. Brown or grey, slightly flexible residue is typically a solvent-based contact adhesive. Black, hard, brittle, tar-like residue is cutback asphalt or bituminous mastic — the type most likely to contain asbestos in older installations.
- Smell test (cautiously): Latex adhesives have a mild, slightly rubbery smell. Solvent-based adhesives smell sharp and chemical. Bituminous mastic smells faintly of tar or petroleum.
- Water test: Dab a small amount of warm water on the residue and wait two minutes. If it softens or becomes tacky, you’re dealing with a water-soluble adhesive. No change suggests solvent-based or epoxy.
- Solvent test patch: Apply a small amount of mineral turpentine to an inconspicuous area. If the residue softens and lifts, a solvent-based approach will work. If it stays hard, you may be dealing with a two-part epoxy, which typically requires mechanical removal.
Subfloor identification
The substrate dictates how aggressive you can be. Concrete and screed tolerate grinding and strong solvents. Timber and parquet are vulnerable to moisture, heat, and blade gouging. Particleboard swells with water and dissolves under strong solvents. Tiles and stone can crack under heavy mechanical pressure. Vinyl backing can dissolve under acetone or strong citrus solvents.
If you find black, brittle, tar-like adhesive beneath carpet or underlay that appears original to a pre-1980 installation, stop. Dark bituminous adhesive and brown fibrous underlay are warning signs for asbestos-containing materials. Do not scrape, sand, or disturb them until testing confirms they are clear.
Water-based latex adhesives typically rehydrate with moisture and respond to steaming or hot soapy water, while solvent-based and cutback adhesives usually need stronger solvents or mechanical removal. Matching the method to the adhesive type is the single biggest factor in how long the job takes.
Step-by-step manual removal for small areas and delicate floors
Manual scraping is the least damaging first method for timber, tiles, and small rooms because it gives you direct control over blade pressure and angle, which means you can stop the moment you feel resistance from the substrate below.
Step-by-step process
- Cut the carpet into strips roughly 30–45 cm wide using a utility knife. Smaller strips are easier to roll and carry, and cutting first prevents tearing the underlay unevenly.
- Lift and roll each strip from one end, pulling back at a low angle to avoid ripping the underlay away in chunks. Fold the roll back on itself and secure with tape for easier disposal.
- Remove the underlay carefully. If it comes away in one piece, that’s a good sign the adhesive is relatively fresh. Brittle, crumbling underlay that sticks to the floor is a warning sign worth noting before you proceed.
- Scrape adhesive in small sections, working at a blade angle of roughly 15–20 degrees to the floor. A shallow angle reduces gouging. On timber, always scrape with the grain.
- Replace blades frequently. A dull blade requires more force, which increases the risk of gouging. On a QEP-style floor scraper, blade changes take under a minute and the difference in control is immediate.
- Shift to an oscillating multi-tool with a scraper blade for corners, edges, and areas where the floor scraper can’t reach flat. The oscillating action reduces the risk of digging in.
- Wipe the scraped area with a damp cloth to remove loose residue before it dries and hardens again.
A typical bedroom (roughly 12–15 square metres) takes an experienced DIYer around 3–5 hours for manual scraping alone, depending on adhesive type and how well it releases. Larger open-plan areas can run to a full day or more.
Pro Tip: Keep a spray bottle of warm water nearby. A light mist on the adhesive just before scraping softens the surface layer and reduces the force needed, which protects both the blade and the substrate.
Using solvents and commercial adhesive removers safely
Solvent and gel removers can cut removal time significantly, but they increase health and substrate risk. Use them only after a test patch confirms compatibility, and only with proper ventilation in place.
Choosing the right product
The adhesive type drives the product choice:
- Water-based latex adhesive: hot water, steam, or a citrus-based cleaner is usually sufficient. No need for strong solvents.
- Solvent-based contact adhesive: mineral turpentine or a proprietary gel like Diggers Glue Rid works well. Diggers Glue Rid is formulated as a gel so it stays on the surface during the dwell period rather than running off.
- Cutback asphalt or bituminous mastic (confirmed non-asbestos): mineral turpentine or a dedicated mastic remover. Acetone is a last resort for small patches.
- Two-part epoxy: acetone or a specialist epoxy remover, mechanical removal for large areas.
Start with manual scraping and heat/steam before reaching for chemical strippers. Chemical strippers speed removal but emit fumes and can damage some substrates. Mechanical grinders are effective on concrete but produce large amounts of dust and need dust control measures in place.
Application steps
- Open all windows and doors. If working in an enclosed space, use a fan to create cross-ventilation before applying any solvent.
- Apply the product to a small, inconspicuous test patch first. Wait the manufacturer’s recommended dwell time (typically 10–20 minutes for Diggers Glue Rid) and check that the substrate shows no discolouration, swelling, or surface lift.
- Apply the remover to a manageable section (roughly 1 square metre at a time). Spread evenly and allow the full dwell time.
- Scrape the softened adhesive with a floor scraper or stiff putty knife. The residue should lift in sheets or soft clumps.
- Neutralise the surface with a clean damp cloth and a mild detergent solution. This stops the solvent continuing to work on the substrate.
- Dispose of solvent-soaked rags in a sealed metal container, not a plastic bag. Solvent-saturated rags can self-heat and are a fire risk.
Safety checklist for solvent use
- Wear a half-face respirator with organic vapour cartridges, not just a dust mask
- Keep all ignition sources (power tools, pilot lights, cigarettes) away from the work area
- Store solvents in their original containers, away from heat
- Never pour solvent waste down a drain; contact your local council for chemical waste disposal options
Pro Tip: Apply Diggers Glue Rid and cover the section with a sheet of plastic film. The film traps moisture and extends the effective dwell time without using more product, which reduces both cost and fume exposure.
When and how to use power tools: grinders, sanders and floor strippers
Mechanical methods are the fastest option for large concrete areas, but they carry the highest risk to the substrate and generate significant dust and fumes. Use them when manual and chemical methods have stalled, or when the area is simply too large for hand tools to be practical.
Common machines and their uses
An oscillating multi-tool with a scraper attachment is the most versatile power option for mixed surfaces. It handles edges, transitions, and areas where a floor stripper can’t reach. A floor buffer with a scraper pad works on large flat areas and is gentler than a grinder. The Coates floor stripper (hire) drives a wide, heavy scraper blade across the slab and is the go-to for large concrete areas where adhesive is thick and well-bonded.
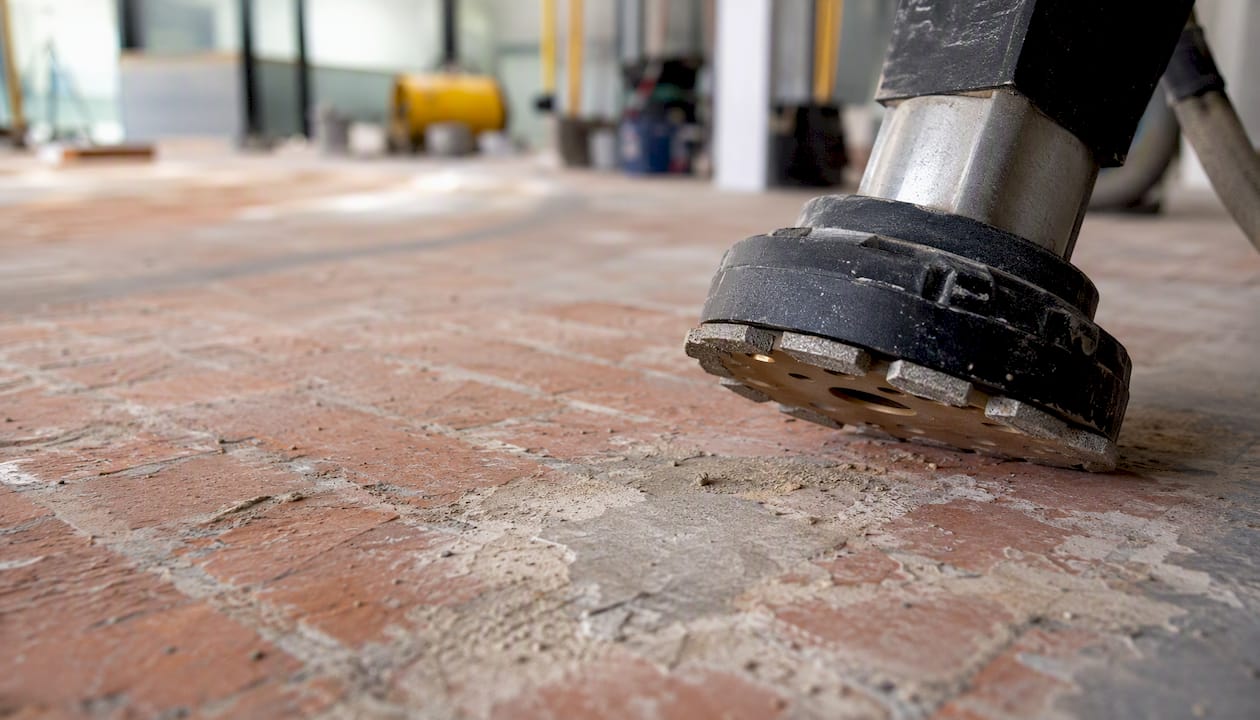
For the most stubborn concrete jobs, an angle grinder fitted with a Flexovit diamond cup wheel removes adhesive and levels high spots simultaneously. Diamond cup grinders are fast but aggressive: they can remove several millimetres of concrete surface in seconds, so they require a steady hand and constant movement. Diamond blades gum up on sticky adhesive and need to be cleaned regularly by briefly touching the disc to a piece of brick or concrete block to clear the build-up.
Method comparison
Dust control
Mechanical grinding produces fine concrete and adhesive dust that travels far and lingers. Connect a HEPA-filter vacuum directly to the grinder or floor stripper where the machine allows it. Seal doorways with plastic sheeting to contain dust to the work area. A negative-pressure ventilation setup (a fan exhausting air out of a window) prevents dust migrating through the rest of the building.
Pro Tip: When a diamond cup wheel gums up on adhesive, touch it briefly to a spare brick or concrete block. The abrasion clears the glue from the segments and restores cutting performance without stopping to change the disc.
Surface-by-surface do’s and don’ts
The gentlest effective method for the surface is always the right starting point. What works on a concrete slab can wreck a parquet floor in seconds.
Concrete and screed
Concrete is the most forgiving substrate for adhesive removal. Chemical removers, floor strippers, and diamond cup grinders are all appropriate, depending on the adhesive type and area size. After removal, check the surface for moisture with a calcium chloride test or a moisture meter before laying new flooring. High moisture readings mean the slab needs time to dry or a moisture barrier before any new covering goes down. Fill any gouges or low spots with a self-levelling compound rated for the intended floor covering.
Timber and parquet
Avoid heavy grinders entirely on timber. The grain structure is vulnerable to blade gouging, and moisture from steam or solvents can cause swelling and cupping. Start with manual scraping at a low angle, always working with the grain. A heat gun on a low setting can soften latex adhesives without raising the grain, but keep it moving constantly. If solvent is needed, use the minimum amount on a test patch first and neutralise quickly. Light sanding with a belt sander (80–120 grit) can remove residue and restore the surface if the timber is thick enough to allow it.
Tiles and stone
Glazed ceramic tiles tolerate warm soapy water, steam, and careful solvent use. Avoid oil-based products on natural stone: they penetrate the pores and cause permanent staining. Never use a grinder on tiles unless you are prepared to replace them, as the risk of cracking is high. For stubborn adhesive on tiles, a plastic scraper and a citrus-based cleaner is the safest combination. Unglazed stone and slate need particular care: test any solvent in an inconspicuous area and rinse thoroughly.
Vinyl and plastic-backed floors
Strong solvents including acetone and some mineral turpentine formulations will dissolve or swell vinyl backing. Use only warm water, mild detergent, or a citrus-based product specifically labelled as safe for vinyl. Mechanical methods on vinyl risk tearing the backing and creating an uneven substrate.
Surface quick-reference:
- Concrete: grinding, chemical removers, floor stripper hire — all appropriate with correct PPE
- Timber/parquet: manual scraping with the grain, low-heat gun, minimal solvent, no grinders
- Glazed tiles: warm water, steam, citrus solvent, plastic scraper — no grinders, no oil
- Natural stone: warm water, citrus solvent only, no oil, no grinders, always test first
- Vinyl: warm water, mild detergent, citrus cleaner only — no acetone, no mechanical tools
Asbestos risks, health precautions and safe work procedures
Treat carpet and underlay installed before approximately 1980 as suspect for asbestos. Stop work if you see black bituminous mastic or brown fibrous underlay and arrange testing before proceeding.
Carpet underlay and adhesives installed before about 1980 should be treated as suspect: some underlays were made from recycled hessian bags that may contain friable asbestos, and the adhesive itself may contain non-friable asbestos. Some carpet underlays reused hessian bags that contained friable asbestos, while the glue may contain non-friable asbestos. Dark bituminous adhesive and brown fibrous underlay are the two most consistent visual warning signs.
Safe inspection procedure
DIY renovators should follow safe work procedures: visually inspect without disturbing the material, wear a Class P1 or P2 disposable mask during inspection, wet down any suspect material before handling, and send samples to a NATA-accredited laboratory if the underlay looks original or pre-1970s. Older carpet adhesives, particularly cutback asphalt adhesives, can contain asbestos; if suspected, testing by an accredited laboratory is required and licensed removalists should be engaged for positive results.
Do’s and don’ts for suspected asbestos:
- Do wear a P2 mask and disposable gloves during visual inspection
- Do wet down suspect material lightly before any handling
- Do send a sample to a NATA-accredited lab for testing before proceeding
- Do engage a licensed asbestos removalist for confirmed asbestos-containing materials
- Don’t scrape, sand, grind, or vacuum dry suspect adhesive or underlay
- Don’t use a standard household vacuum — it disperses fibres rather than capturing them
- Don’t dispose of asbestos waste in general rubbish — it requires double-bagging in heavy-duty plastic and disposal at a licensed facility
For transport restrictions on hazardous materials including asbestos waste, the EasyMove guide on items movers cannot transport outlines what standard carriers will and won’t handle, which is useful context when arranging removal.
How to collect waste, dispose responsibly and prepare the subfloor
Separate and bag adhesive scrapings and used rags before anything else. Solvent-soaked materials are classified as hazardous waste in most Australian states and cannot go into general bins.
On-site containment and clean-up
- Collect scraped adhesive residue into heavy-duty plastic bags as you work. Don’t let it accumulate on the floor where it can be tracked through the building.
- Vacuum the entire work area with a HEPA-filter vacuum. A standard shop vac recirculates fine particles back into the air.
- Wet-wipe the subfloor with a damp cloth and mild detergent to remove the final layer of dust and residue.
- Seal solvent-soaked rags in a metal container with a lid. Contact your local council or waste authority for chemical waste drop-off points.
- If asbestos-containing material is confirmed, double-bag it in heavy-duty 200-micron polyethylene bags, seal with tape, and label clearly. Disposal must be at a licensed facility. Do not handle this step without a licensed removalist.
Subfloor preparation for new flooring
| Step | What to do | Why it matters |
|---|---|---|
| Moisture test | Use a calcium chloride test kit or moisture meter | High moisture causes adhesive failure and floor movement |
| Residue check | Run a straight edge across the slab; feel for high spots | Lumps under new flooring cause cracking and squeaking |
| Level and fill | Apply self-levelling compound to low spots and gouges | Most floor coverings require a tolerance of 3 mm |
| Prime if needed | Apply a bonding primer before adhesive or levelling compound | Improves adhesion and reduces bleed-through on porous concrete |
For larger volumes of adhesive waste, old carpet rolls, and contaminated materials, a professional rubbish removal and haul-off service is often the most practical option, particularly when the waste volume exceeds what a standard skip bin can handle safely.
When to stop DIY and hire a professional
Hire a professional when asbestos is suspected, the area is large, a delicate substrate must be preserved, or the job is part of a makegood or pre-sale condition requirement where the result needs to be guaranteed.
The DIY approach makes sense for a single room with a clearly modern installation, no suspect materials, and a concrete or robust tiled subfloor. Once any of the following conditions apply, the risk-to-reward calculation shifts firmly toward professional help.
Hire a professional when:
- The carpet or underlay predates 1980 and testing has not yet been done
- Testing confirms asbestos-containing materials are present
- The subfloor is heritage timber, parquet, or a delicate stone that cannot be replaced
- The area exceeds roughly 50 square metres and mechanical hire is not practical
- The job is a commercial makegood, end-of-lease, or pre-sale condition where a professional standard is required
- You’ve already damaged the substrate and need assessment before proceeding
Questions to ask any contractor
Before engaging a floor stripping or rubbish removal contractor, confirm the following: their licence for asbestos handling if suspect materials are present; how they classify and dispose of adhesive waste; whether their quote includes subfloor preparation or only removal; their public liability insurance; and an estimated timeframe for the job.
For commercial strip-outs, makegood work, and rubbish removal in Sydney, Sydneycityrubbish handles floor finish removal, concrete grinding, and safe disposal of construction and renovation waste, including hazardous materials. Their carbon-neutral disposal opt-in is available for corporate clients who need to document environmental compliance.
Pro Tip: Ask any contractor for a written scope of works before they start. A clear document that specifies what is being removed, how waste will be classified, and what the subfloor condition will be on handover protects you if disputes arise later.
Sources
The following sources informed the safety guidance and technical methods in this article.
- Safety alert – Asbestos bags recycled for use in carpet underlay
- Carpet underlay and glue and asbestos | Asbestos
- Glue Down Carpet Removal: Methods, Costs, and Best Practices
- How to easily remove old carpet glue (Bosch DIY)
This article is general information, not a substitute for advice from a qualified doctor. Consult a qualified healthcare professional about your own circumstances before acting on anything here.