Vinyl floor removal methods: a practical DIY guide
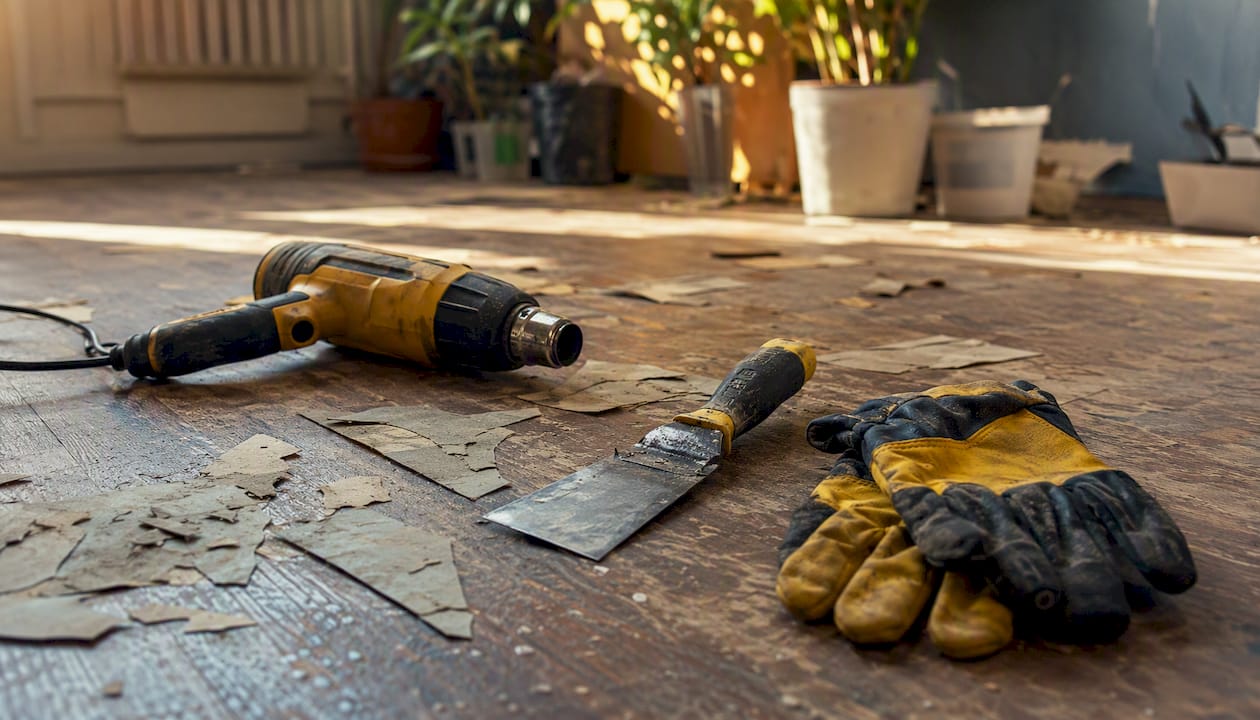
Choose peel-and-lift for floating LVP/LVT and peel-and-stick tiles, heat or citrus-based adhesive removers for glued sheet vinyl, and mechanical stripping for large areas or heavily bonded cutback adhesive on concrete. That single decision saves hours of wasted effort before you pick up a single tool.
Here is a fast decision map to get you started:
- Floating LVP or LVT: Peel-and-lift. No adhesive to fight; start at a doorway edge and work in strips.
- Peel-and-stick tiles: Peel-and-lift, with a heat gun on stubborn spots.
- Sheet vinyl (lightly bonded): Score into strips, peel, then scrape residual backing.
- Glued sheet vinyl or glued tiles: Heat or citrus (d-limonene) remover first; mechanical scraping for anything that remains.
- Large areas or hardened cutback adhesive on concrete: Rental walk-behind floor stripper or angle grinder with a diamond cup wheel.
Safety flag: If your flooring or its adhesive was installed before the early 1980s, stop before you scrape, sand, or grind anything. Older vinyl and certain black mastic adhesives can contain asbestos. Do a small visual check first: brittle, crumbling backing or dark tarry adhesive are red flags. Get the material tested by a certified professional before proceeding. The asbestos safety guidance from the national authority is the definitive starting point.
Your immediate next steps: confirm your vinyl type, check the installation date, gather your tools, and run a small test patch in a low-visibility corner before committing to a full-room approach.
Key takeaways
Matching your vinyl floor removal method to the flooring type and adhesive condition is the single decision that determines how much time, money, and effort the job actually takes.
| Point | Details |
|---|---|
| Match method to vinyl type | Use peel-and-lift for floating vinyl, heat or citrus remover for glued sheet vinyl, and mechanical stripping for large or heavily bonded areas. |
| Test before committing | Run a small test patch with your chosen method before tackling the full floor; adhesive type and subfloor condition vary widely. |
| Asbestos is a hard stop | Stop all scraping, sanding, or grinding if the installation predates 1987 or shows black tarry adhesive; get certified testing before proceeding. |
| Hire equipment for large jobs | A walk-behind floor stripper or angle grinder with a diamond cup wheel saves substantial labour time on areas over 20 m². |
| Sydneycityrubbish for disposal | For large volumes or contaminated waste after a strip-out, Sydneycityrubbish provides compliant rubbish removal and subfloor clearing across Sydney. |
Table of Contents
- Which vinyl floor removal tools do you actually need?
- How to peel and lift floating vinyl or peel-and-stick tiles
- How does heat or steam loosen stubborn glued vinyl?
- Choosing and using citrus (d-limonene) adhesive removers
- When should you use mechanical removal equipment?
- Asbestos and other hazards: when should you stop and test?
- How do you inspect and prepare the subfloor after vinyl removal?
- Waste handling and disposal options for removed vinyl
- What does DIY vinyl removal actually cost, and when should you call a pro?
- Fast troubleshooting for common problems during removal
- Sydneycityrubbish handles the heavy lifting after your strip-out
- Sources
Which vinyl floor removal tools do you actually need?
Getting the right kit together before you start prevents mid-job trips to the hardware store and protects both you and the subfloor. The tools you need depend on which method you are using, so organise them by task.
Peel-up and hand scraping:
- Utility knife or scoring tool
- Wide-blade floor scraper (100–150 mm blade)
- Putty knife or stiff-blade chisel for edges
- Pry bar for stubborn sections
Heat and steam:
- Heat gun (adjustable temperature, suitable for adhesive removal)
- Steam mop or steam stripper
- Heavy-duty floor scraper to follow immediately behind heat
Chemical removal:
- Citrus-based (d-limonene) adhesive remover
- Solvent-based remover for old cutback adhesive
- Plastic scraper or stiff-bristle brush for working in remover
- Mop and bucket for clean-up
Mechanical (large jobs):
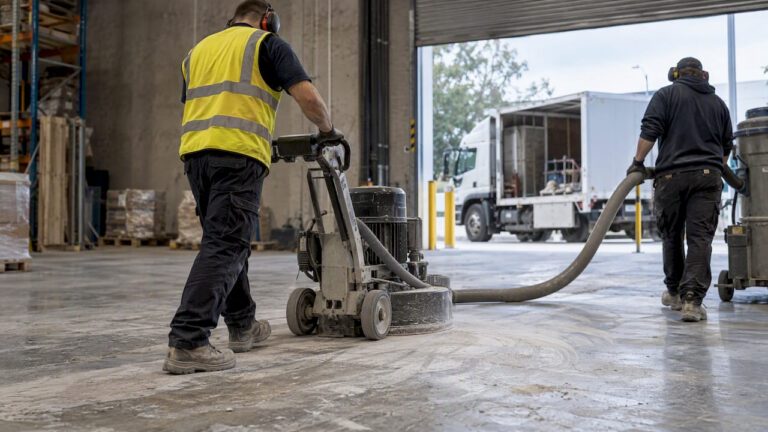
- Walk-behind electric floor stripper
- Angle grinder with diamond cup wheel (for concrete adhesive)
- HEPA-filter wet/dry vacuum
PPE for all methods:
- P2 respirator (P3 if grinding or working near suspect asbestos materials)
- Safety glasses or goggles
- Heavy-duty nitrile or rubber gloves
- Knee pads
- Steel-capped boots
Most of these items are available at Bunnings, which also stocks adhesive removers, scrapers, and PPE in one visit. For powered equipment, hiring is almost always the smarter call.
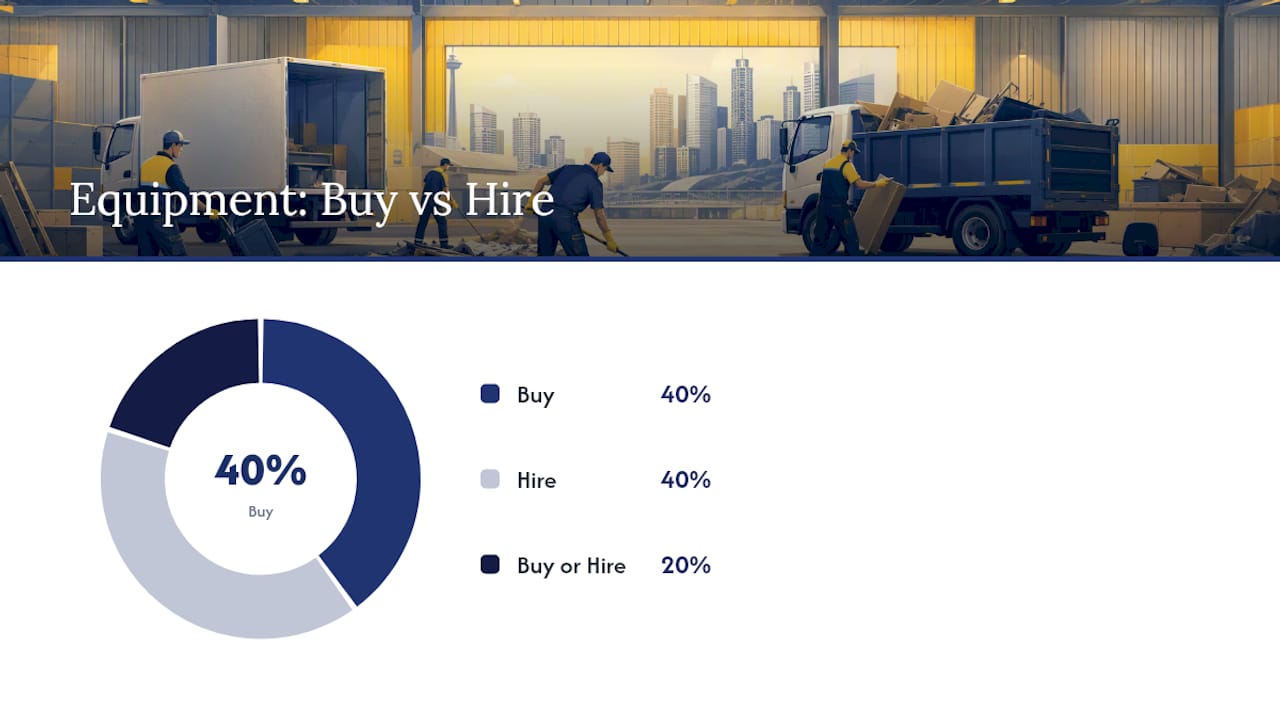
| Equipment | Buy or hire? | Reason |
|---|---|---|
| Hand floor scraper | Buy | Low cost, used repeatedly |
| Heat gun | Buy | Versatile for other home tasks |
| Walk-behind floor stripper | Hire | High cost, single-use for most homeowners |
| Angle grinder with cup wheel | Hire | Specialist attachment; dust-control setup needed |
| HEPA vacuum | Hire or buy | Hire if you do not already own one |
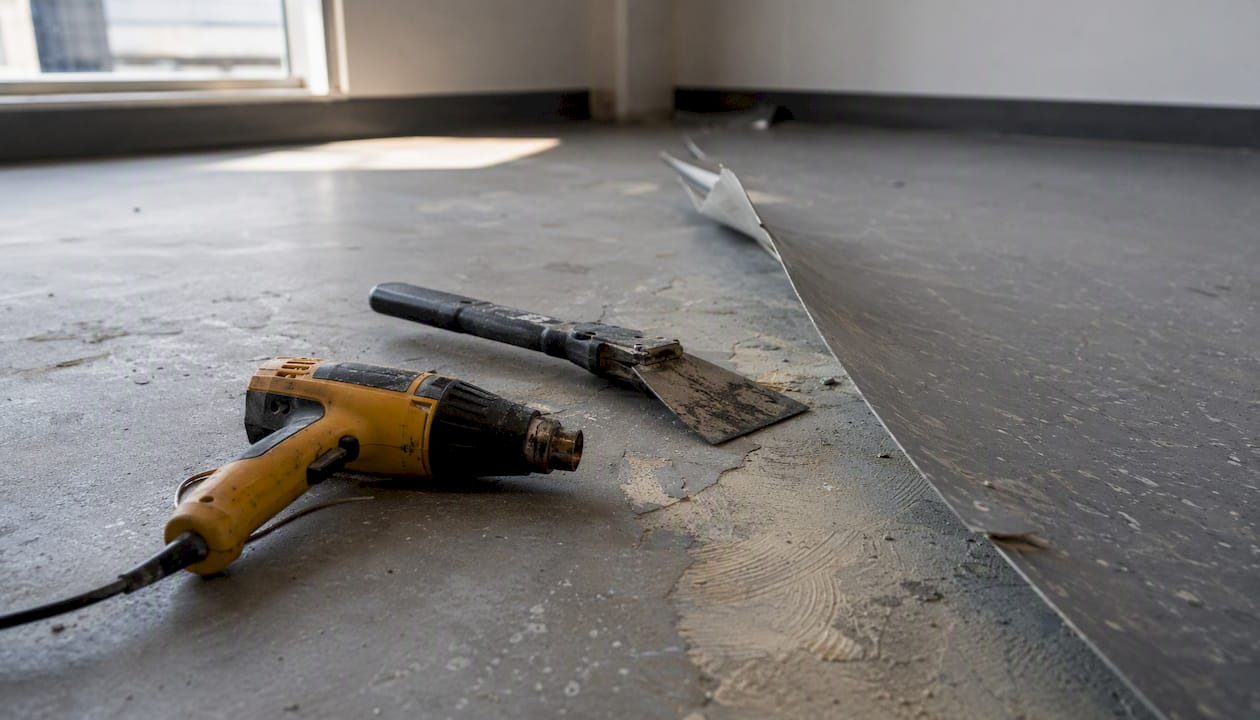
Pro Tip: Hire the walk-behind floor stripper for any job over roughly 20 square metres. The time saving is significant, and most hire centres include a blade or two in the rental fee.
How to peel and lift floating vinyl or peel-and-stick tiles
This is the fastest of all vinyl floor removal methods and causes the least subfloor damage when done correctly. Floating LVP and LVT panels are not bonded to the subfloor, so the job is largely about working efficiently rather than fighting adhesive.
Follow this sequence, adapted from standard DIY step guides:
- Clear the room completely. Remove furniture, appliances, and any floor vents or registers.
- Locate a starting edge. Doorways, corners, and the point where skirting boards meet the floor are the easiest entry points. Use a utility knife to score along the edge if the vinyl runs under the skirting.
- Pry up the first piece. Slide a putty knife or stiff chisel under the edge and lever it up. For peel-and-stick tiles, a heat gun on a low setting (around 60–80°C at the surface) softens the adhesive enough to get the first tile moving without tearing it.
- Work in strips. For sheet vinyl, score the floor into 300–400 mm strips with a utility knife before you start lifting. This keeps the material manageable and prevents large sections from tearing unpredictably.
- Pry and pull at a low angle. Keep the scraper or pry bar as flat as possible against the subfloor. A steep angle gouges timber or fibre-cement sheeting.
- Roll up sheet vinyl as you go. Fold it back on itself and roll into manageable sections for bagging. Peel-and-stick tiles stack flat.
- Scrape residual backing. Some sheet vinyl leaves a paper or foam backing bonded to the subfloor. A wide floor scraper removes most of it dry; stubborn patches respond to a damp cloth left for a few minutes to soften the adhesive.
- Protect skirting boards with masking tape before you start prying.
- Score only as deep as the vinyl layer; cutting into the subfloor creates repair work.
- Bag material as you go to keep the work area clear and reduce trip hazards.
Pro Tip: Work with the seams, not against them. On sheet vinyl, scoring along existing seam lines gives you a natural starting point and reduces tearing.
How does heat or steam loosen stubborn glued vinyl?
Heat works by softening the adhesive bond between the vinyl and the subfloor, making it possible to slide a scraper underneath without excessive force. It is most effective on modern pressure-sensitive adhesives and on peel-and-stick tiles where the bond has hardened over time.
Use heat when the adhesive softens visibly with warmth and the subfloor is concrete or fibre-cement (not bare timber, which can scorch or warp with prolonged heat exposure).
- Ventilate the space. Open windows and doors before you start. Heated adhesive releases fumes, and a steam mop adds humidity that needs somewhere to go.
- Set the heat gun to a moderate temperature (around 300–400°C at the nozzle, which translates to roughly 60–80°C at the vinyl surface). Hold it a safe distance above the surface and move steadily to avoid damage.
- Follow immediately with the scraper. The adhesive re-hardens within seconds of the heat source moving away. Keep the scraper right behind the heat gun, working in small sections of 200–300 mm at a time.
- For a steam mop or steam stripper: press the head flat against the vinyl for 20–30 seconds, then slide the scraper under the softened section. Steam penetrates seams and edges particularly well.
- Repeat and collect. Lift the loosened vinyl, bag it, and move to the next section.
- Do not hold the heat gun stationary to avoid scorching vinyl, creates toxic fumes, and can damage the subfloor beneath.
- Keep the room ventilated throughout. Fumes from heated adhesive are unpleasant and potentially harmful with prolonged exposure.
- A standard hairdryer works on very small areas (around a single tile) but lacks the output for anything larger.
Pro Tip: A steam mop is gentler on timber subfloors than a heat gun and is worth trying first on any job where you are uncertain about the subfloor material beneath the vinyl.
Choosing and using citrus (d-limonene) adhesive removers
When mechanical scraping and heat leave adhesive residue behind, a chemical remover is the next step. Citrus-based d-limonene removers are the default DIY choice because they soften decades-old mastic effectively with fewer harsh fumes than traditional solvent formulas, and typical dwell times are short, often around a quarter of an hour or longer.
Identifying your adhesive before choosing a product:
- Yellow or tan mastic: modern pressure-sensitive adhesive; responds well to citrus removers.
- Black or dark brown adhesive: likely cutback asphalt adhesive, common in installations from the 1960s–1980s. This type may contain asbestos. Do not sand or grind it. A citrus remover can soften it for scraping, but confirm it is asbestos-free first.
- White or cream adhesive: often a latex-based product; citrus removers and warm water usually handle it.
Application steps:
- Run a test patch. Apply the remover to a 300 mm square area, wait the recommended dwell time, and check whether the adhesive has softened. This confirms the product will work before you commit to the whole floor.
- Apply the remover generously across a manageable section (roughly 1–2 square metres). Spread it with a brush or pour and distribute with a plastic scraper.
- Wait 10–20 minutes. Keep the area wet; if it dries out, add more product. The adhesive should become soft and pliable.
- Scrape the softened adhesive with a wide floor scraper, working at a low angle. Collect the residue and bag it immediately.
- Repeat for stubborn patches. A second application is normal on older or thicker adhesive layers.
- Clean the subfloor. Mop with warm water and a neutral cleaner to remove all chemical residue before the next floor goes down.
- Work in a well-ventilated space even with citrus removers. The fumes are milder than solvent products but still accumulate in enclosed rooms.
- Wear nitrile gloves and safety glasses throughout.
- Solvent-soaked rags and scraped adhesive are flammable waste. Store them in a sealed metal container, not a plastic bag, until disposal.
- For old cutback adhesive confirmed free of asbestos, a stronger solvent-based remover may be necessary. Follow the product’s flammability warnings and increase ventilation accordingly.
Pro Tip: Apply citrus remover in the evening and cover it with plastic sheeting overnight. The extended dwell time on thick or old adhesive often means one application does the job that would otherwise take three.
When should you use mechanical removal equipment?
Mechanical scraping and grinding are the most efficient vinyl floor removal methods for large areas, heavily bonded adhesive, or concrete subfloors where hand scraping would take days. Walk-behind floor strippers and angle grinders with diamond cup wheels are the standard tools for these situations, and hiring them cuts labour time substantially on jobs over 20–30 square metres.
Using a walk-behind floor stripper:
- Set the blade angle to roughly 15–20 degrees for vinyl sheet, or lower for thicker material. Most hire units have an adjustable head.
- Start at a doorway or open edge and drive the machine forward slowly, letting the blade work under the vinyl rather than forcing it.
- Collect and bag material as the machine lifts it. Keep the path clear to avoid the machine riding over loose vinyl.
- Switch to hand scrapers for edges, corners, and areas within 100–150 mm of walls where the machine cannot reach.
Grinding adhesive residue from concrete:
- Attach a diamond cup wheel to an angle grinder and fit a dust shroud connected to a HEPA vacuum.
- Test a small patch first. Grinding reveals the concrete condition and confirms the adhesive type before you commit to the whole floor.
- Work in overlapping passes, keeping the grinder moving to avoid creating low spots.
- Vacuum continuously. Adhesive dust is a respiratory hazard; the HEPA filter captures fine particles that a standard vacuum passes straight through.
| Equipment | Typical hire cost (per day) | Labour saving vs hand scraping |
|---|---|---|
| Walk-behind floor stripper | $80–$150 | Significant on areas over 20 m² |
| Angle grinder with diamond cup wheel | $60 | High for concrete adhesive removal |
| HEPA wet/dry vacuum | $50 | Required for dust control with grinder |
- Use a P2 respirator minimum when operating a grinder; upgrade to P3 if adhesive dust is heavy.
- Never grind black cutback adhesive until it has been tested and confirmed asbestos-free.
- Hire centres typically include blades in the floor stripper rental; confirm this before you book.
Pro Tip: Electric floor scrapers marketed for residential use can handle several hundred square feet per hour on straightforward jobs on straightforward jobs. For typical rooms on concrete, hire equipment can save substantial labor time.
Asbestos and other hazards: when should you stop and test?
Older sheet vinyl and certain adhesives, particularly cutback asphalt adhesives, may contain asbestos. Disturbing or sanding these materials without testing is a serious health hazard, and no DIY time saving justifies the risk.
Stop work immediately if you notice any of these:
- The flooring or adhesive was installed before approximately 1987.
- The adhesive is black, dark brown, or tarry in appearance.
- The vinyl backing is brittle, crumbling, or fibrous.
- There are multiple layers of old flooring stacked beneath the surface.
- Dust or fine particles are released when you score or lift a small section.
Before any scraping, sanding, or grinding of suspect materials: engage a licensed asbestos assessor to collect a sample and arrange laboratory testing. Do not attempt to collect samples yourself. If asbestos is confirmed, licensed removal is legally required in most Australian states and territories. The Asbestos Safety and Eradication Agency publishes the definitive guidance for trades and renovators on testing, licensed removal, and safe work procedures.
Action steps if you suspect asbestos:
- Stop all disturbance work and seal off the area with plastic sheeting.
- Contact a licensed asbestos assessor through your state’s WorkSafe or SafeWork authority.
- Do not vacuum the area with a standard vacuum; fine asbestos fibres pass through standard filters.
- Arrange licensed abatement before any further removal work proceeds.
Asbestos-containing materials were used in Australian building products until 1987, and their use in vinyl flooring and adhesives was common through the 1970s and into the early 1980s. Any installation from that era warrants testing before mechanical disturbance.
How do you inspect and prepare the subfloor after vinyl removal?
The condition of the subfloor determines whether your new floor goes down flat and stays that way. A thorough inspection immediately after vinyl removal prevents expensive callbacks and failed installations.
Immediate inspection checklist:
- Check for gouges, deep scraper marks, or areas where the subfloor surface has been torn away.
- Look for adhesive residue: thick patches create high spots that telegraph through new flooring.
- Inspect for protruding nails, staples, or tack strips and remove them flush with the surface.
- Check for soft spots, delamination (on plywood), or crumbling areas (on fibre-cement) that indicate moisture damage.
Repair sequence:
- Remove all fasteners. Pull nails and staples with pliers or a pry bar, then hammer any remaining heads flush.
- Grind or sand high spots. Adhesive lumps and raised grain on timber subfloors need to be flat within 3 mm over a 1.8-metre span for most new floor products.
- Fill low spots and gouges. Use a floor-levelling compound or patching filler rated for the subfloor type. Allow full cure time before testing flatness.
- Moisture testing. Wait at least 24–48 hours after solvent or water-based cleaning before taking moisture readings. Use a calibrated moisture meter; most new floor manufacturers specify a maximum reading for their product.
- Apply a skim coat or levelling compound if the subfloor has widespread unevenness. A thin skim coat is faster than spot-filling dozens of small depressions.
A subfloor that passes a flatness check and moisture test is ready for the next installation. Skipping either step is the most common cause of new floor failures within the first year.
Waste handling and disposal options for removed vinyl
Removed vinyl flooring, adhesive residue, and solvent-soaked materials each need to be handled differently. Mixing them together creates disposal problems and, in the case of contaminated material, a compliance issue.
Disposal checklist:
- Separate bulk vinyl (clean, uncontaminated) from adhesive-coated backing material.
- Keep solvent-soaked rags and scraped adhesive in sealed, labelled containers separate from general waste.
- Any material confirmed or suspected to contain asbestos must be double-bagged in heavy-duty polyethylene, labelled, and disposed of at a licensed facility only.
Disposal pathways:
- Council kerbside collection: Many councils accept bulk vinyl as a hard-waste item on scheduled collection days. Check your local council’s hard-waste rules before placing material on the kerb, as restrictions on weight and material type vary.
- Tip drop-off: Most transfer stations accept clean vinyl flooring as general waste. Contaminated or asbestos-containing material requires a separate drop-off point and may attract a higher fee.
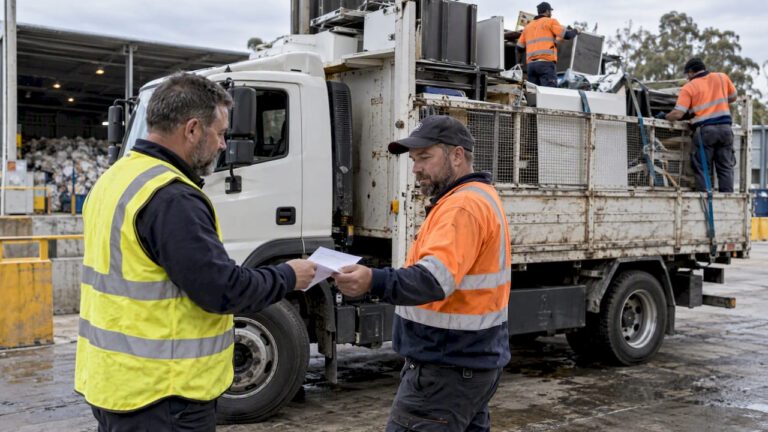
- Skip bin or truck hire: For whole-room strip-outs, a skip bin or rubbish removal truck is the most practical option. Provide the hire company with details of the material type, especially if adhesive or solvent waste is included.
- Professional rubbish removal: For large volumes, multi-room jobs, or any material with contamination concerns, a professional service handles collection, transport, and compliant disposal in a single booking.
- Double-bag all dusty or fibrous material before transport, even if asbestos has not been confirmed.
- Label solvent waste containers clearly with the product name and hazard class.
- Never place solvent-soaked rags in a sealed plastic bag; use a metal container with a lid to reduce fire risk during transport.
Pro Tip: For a whole-room strip-out producing more than a couple of cubic metres of waste, booking a rubbish removal service is often cheaper than multiple tip runs once you factor in vehicle hire, fuel, and tip fees.
What does DIY vinyl removal actually cost, and when should you call a pro?
For a small area such as a laundry or bathroom, DIY removal using hand tools costs little beyond your time, mostly for basic supplies. A mid-size room requires additional tools and product but remains cost-effective for many homeowners., but remains cost-effective for most homeowners.
| Job scope | Estimated DIY cost | Estimated time |
|---|---|---|
| Small room, floating vinyl (under 10 m²) | $20–$60 (tools and PPE) | 2–4 hours |
| Medium room, glued sheet vinyl (30 m²) | $100 (hire + product) | 6–10 hours |
| Large area, concrete subfloor, cutback adhesive (100+ m²) | $300 (hire + product) | 1–2 days |
Red flags that mean you should hire a professional:
- Suspected or confirmed asbestos in the flooring or adhesive.
- Heavy cutback adhesive across a large concrete slab where grinding is the only practical option.
- Hidden moisture damage or a subfloor that needs structural repair before the new floor goes down.
- Multi-room strip-outs with a tight deadline.
- No access to hire equipment or a vehicle large enough to transport waste.
When requesting a professional quote, provide: the total area in square metres, photos of the existing flooring and any visible adhesive, the subfloor type (timber, concrete, or fibre-cement), the installation age if known, and any suspected contamination. This information allows an accurate quote without a site visit in many cases.
Fast troubleshooting for common problems during removal
Even a well-planned removal hits snags. These tips address the most common ones without derailing the job.
- Vinyl tears instead of lifting cleanly: Score more frequently into narrower strips (200 mm rather than 400 mm). Cold temperatures make vinyl brittle; warm the room to at least 18°C before starting.
- Adhesive re-hardens before you can scrape it: Work in smaller sections. With a heat gun, keep the heat source no more than 150 mm ahead of the scraper blade.
- Scraper keeps gouging the subfloor: Reduce the blade angle. The scraper should be nearly flat against the surface, not angled steeply downward.
- Edges and corners won’t budge: A stiff putty knife or oscillating multi-tool with a scraper blade reaches into tight spots that a floor scraper cannot.
- Dust is getting everywhere: Seal doorways with plastic sheeting and tape before grinding or heavy scraping. Run a HEPA vacuum continuously rather than cleaning up at the end.
- Adhesive remover is not working: The product may not match the adhesive type. Check the adhesive colour and texture again and switch to a solvent-based product if the citrus remover has had a full dwell time with no result.
Pro Tip: Keep a spray bottle of warm water nearby when hand scraping paper-backed sheet vinyl. A light mist on stubborn backing softens it enough to scrape cleanly without chemical removers, saving both time and product on straightforward jobs.
Sydneycityrubbish handles the heavy lifting after your strip-out
Once the vinyl is up, the real weight of the job often sits in the waste pile: rolls of old flooring, bags of adhesive-coated backing, solvent containers, and sometimes a subfloor’s worth of debris. Sydneycityrubbish provides professional rubbish removal and strip-out services across Sydney, covering exactly this kind of post-renovation clean-up for residential and commercial clients alike.
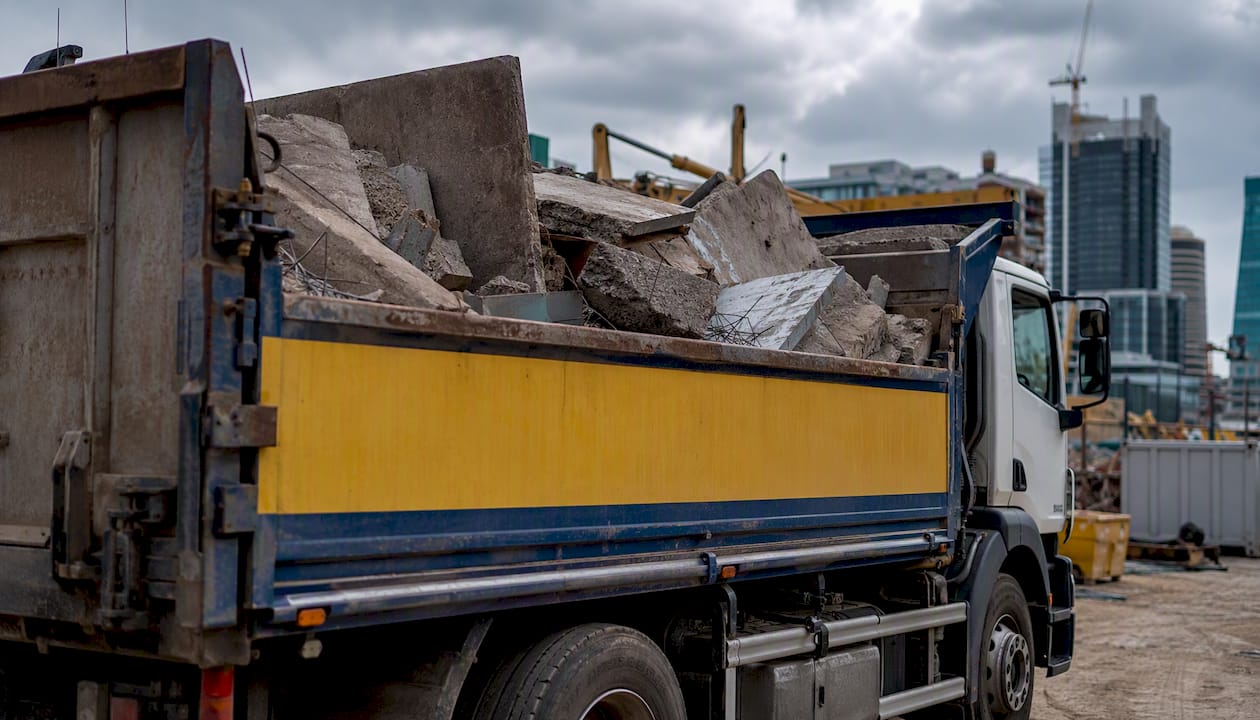
The team handles truckloads of bulk vinyl, adhesive waste, and construction debris, including floor finish removal and concrete grinding for clients who need the subfloor cleared and ready in a single visit. For jobs with contamination concerns or large volumes, Sydneycityrubbish manages compliant disposal so you are not making multiple tip runs or navigating council hard-waste restrictions yourself. A carbon-neutral disposal option is available for clients who want responsible waste management built into the job.
To get an accurate quote quickly, send through the area in square metres, photos of the flooring and any visible adhesive, the subfloor type, and whether any contamination is suspected. Contact Sydneycityrubbish directly to book a collection or discuss a full strip-out scope.
Sources
- Asbestos safety for trades and construction workers booklet
- How to Remove Vinyl Flooring | DIY Removal Guide
- How To Remove Vinyl Flooring
- Best Way to Remove Vinyl Flooring: A Step-by-Step Guide – Floor Chem Depot